


New for VictronConnect: Settings Lock
- Bay Marine Supply

- Mar 14, 2024
- 2 min read
Installer's password-protected system settings
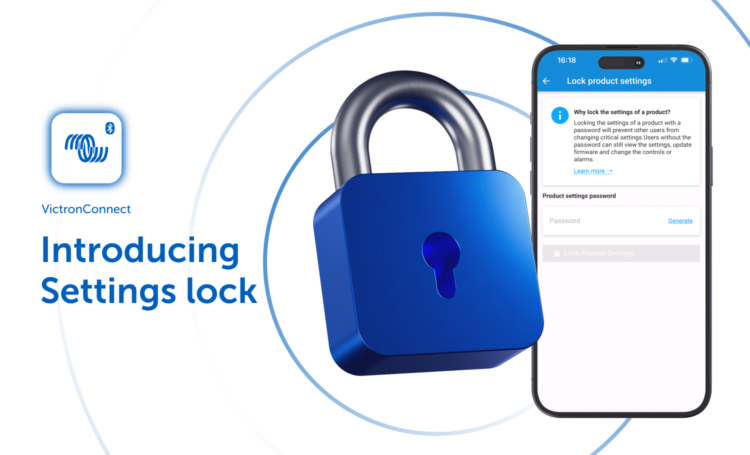
VictronConnect now allows you to secure critical system-settings with a tamper seal.
‘Settings lock’ offers installers the chance to lock critical settings to prevent accidental or unhelpful changes being made to a system’s operating parameters.
It will enhance system stability and is invaluable to engineers who manage hundreds of installations!
All other controls – such as setting low-voltage alarms, initiating a battery equalisation, updating firmware and setting current limits – remain available to system owners and end-users. Real time data, historic data, and graph analysis also remain accessible.
Tamper seal
Installer settings-lock prevents unwanted changes.
End-users can break the seal in an emergency at any time using the ‘lost password’ function.
Engineers or installers will be notified if the tamper seal has been unlocked next time they connect to the device.
Take a look a this Video walkthrough:
One-step lock
Critical settings can be locked with a single click. The process can be repeated for each device in the system.

There’s no need to remember the password as it will be stored by a password manager on the installer’s VRM account and their phone (or connecting device). No need to worry if the phone is lost.
For the password holder all settings are editable, for users the critical settings become ‘view only’.
Removing the Settings Lock is simple, too. Settings-lock can be removed either with the original password; with the PUK code; or by using a VEDirect cable.
Which products can be ‘Settings Locked’?
The products that now support the Settings lock feature are the BMV 712, all SmartShunts, all SmartSolar chargers, and the RS product range. The rollout continues, so even more products will support the feature soon – next up is the Orion XS DC to DC charger.
Settings Lock – quick set up and easy to remove
Go to the ‘Product Info’ tab
Under Lock Product Settings choose ‘Add lock’
Choose a password or accept the auto-generated 8-figure password. (You can ‘copy’ the password to other system devices, if you wish – but it’s not recommended to use the same password for other installations.)
You will now see a confirmation screen.

For more information take a look at this slide presentation designed to quickly help you get familiar with VictronConnect’s powerful new tool!


